Midnight
The Blinding Vale
Timer 31 min4 bossesClean interrupts, fast root breaking, careful orb soaking, and precise positioning are the core skills — mistakes in the interrupt rotation or positioning translate directly into deaths.
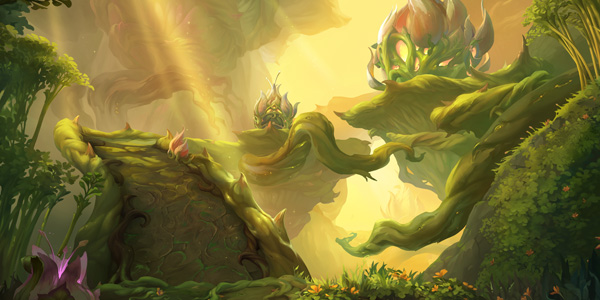
Located in southwestern Harandar; entry level 80, four bosses. The Mythic+ timer is 31 minutes, with the Keystone Hero portal awarded for a timed +10 clear. The boss lineup is Lightblossom Trinity, Ikuzz the Light Hunter, Lightwarden Ruia, and Ziekket. Korean communities also treat it as a dungeon that demands pattern knowledge, and it was nerfed shortly after release — the August 20 balance tuning cut the periodic damage of Ziekket's Lightbloom's Essence by 25%, a sign the initial difficulty was high. The route splits left/right at the entrance, with left recommended: interacting with the Light-Starved Blossom (Paladin or Priest, or Herbalism 25+) grants the party Flourishing Stride (20% movement speed + 5% haste, 2 minutes), and both the buff value and the trash composition favor the left route (Method).
Researched early in the season. Unconfirmed details are marked as such in the text.
Trash
| Must-Interrupt — Spell | Caster |
|---|---|
 Light Bolt VolleyInterrupt every cast. The most important caster in the dungeon — left alone it wakes Dormant Lashers with Call the Grove. Light Bolt VolleyInterrupt every cast. The most important caster in the dungeon — left alone it wakes Dormant Lashers with Call the Grove. | Radiant Spellsower |
 Light BoltSingle-target — stop with spare interrupts. Light BoltSingle-target — stop with spare interrupts. | Radiant Spellsower |
 Disorienting ScreechInterrupt every cast — disorients. Disorienting ScreechInterrupt every cast — disorients. | Lightfeather Petalwing |
 Seed ShotRandom target — stop with spare interrupts. Seed ShotRandom target — stop with spare interrupts. | Leafy Grovecrawler |
 Lightspore ShotInterrupt or CC during the add phase. Lightspore ShotInterrupt or CC during the add phase. | Lashers summoned during the Ziekket fight |
 Warden's WrathInterrupting reduces tank damage — assign an interrupt rotation. Warden's WrathInterrupting reduces tank damage — assign an interrupt rotation. | Lightwarden Ruia (Phase 1) |
Dispels
- Toxic Spew — poison dispel (Potatoad Matriarch, party-wide poison DoT — healers should dispel poison as often as possible)
- Thornblade — bleed removal (Underbrush Stalker stacking bleed; Lekshi also uses it in the Trinity fight)
- Grievous Gash — bleed removal or tank self-healing (Luminous Thornmaw)
- Grievous Thrash — bleed that persists until the target is fully topped off, so heal them to full immediately (Ruia bear phase)
- Bloodthorn Roots — root, break with AoE damage or remove with freedom effects such as Blessing of Freedom (Ikuzz)
Section 1 — Entrance to Lightblossom Trinity
- Radiant Spellsower: the most important caster in the dungeon (Icy Veins). Interrupt Light Bolt Volley every time; stop single-target Light Bolt with spare interrupts. Left alone it casts Call the Grove to wake Dormant Lashers, so slow and kill it before reaching the Lasher camps.
- Lightgorged Lasher: when it gains the Lightbloom Pollination buff, focus it until the shield breaks. It heals nearby enemies, making it a priority kill.
- Underbrush Stalker: applies the stacking Thornblade bleed to random targets. Track stack counts each pack and answer with defensives and bleed removal.
- Thorny Saptor: Hunting Leap frontal attack — dodge it or neutralize with CC.
- Leafy Grovecrawler: Seed Shot on random targets — stop with spare interrupts.
- Interrupt priority one is Light Bolt Volley — distribute with assignments.
- Focus the Lightgorged Lasher when it gains its buff to break the shield.
- Use personal defensives and spread for the Hunting Leap frontal.
Section 2 — Ikuzz to Ruia
- Luminous Thornmaw (lieutenant): CC immune. Grievous Gash bleeds the tank — answer with bleed removal or self-healing. Solar Breath is a frontal on a random target — everyone else spreads out of it.
- Many mobs in this section carry Lightwarden's Blight: they deal AoE damage and leave a ground patch on death. Size pulls accordingly (beware chained death explosions in large pulls).
- Virid Grovekeeper: CC immune. Earthrupture Strike targets the tank — aim the ground effect away from the party. Dodge the Uproot knockback.
- Sporeblight Belcher: CC immune. Spouting Floret needs healing cooldowns — do not pull it together with high-damage packs. Dodge the Belch Spores ground effect.
- Lightfeather Petalwing: interrupt Disorienting Screech every time (disorient).
- Overgrown Hydra: CC immune. The Lightmaw Beams channel targets three random players — do not steer the beam into allies, and use defensives. Dodge the Bullet Seeds line attack.
- Spineshield Beetle: Spiny Shield reflects damage — attackers take damage, so be careful.
- Interrupt priority one is Disorienting Screech — distribute with assignments.
- Use personal defensives and spread for the reflect shield (Spiny Shield) and frontals (Solar Breath).
- If targeted by Lightmaw Beams, do not steer the beam into allies.
Section 3 — Just before Ziekket
- Potatoad Matriarch (miniboss): CC immune.
- Tongue Toss: launches the tank high into the air — watch the landing spot.
- Toxic Spew: party-wide poison DoT — healers should dispel poison as often as possible.
- Toadspawn: lays eggs — destroy them before they hatch. Hatched Newborn Potadpoles cast Potad-Toss (random-target damage plus knockback).
- Destroy Toadspawn eggs immediately, before they hatch.
Bosses
Boss 1
Lightblossom Trinity
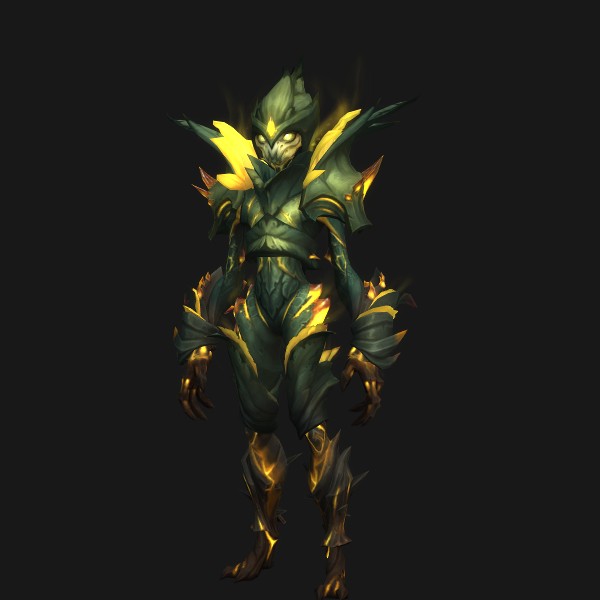
A council fight with shared (or linked) health across three bosses. The core loop is constant interrupts on Kezkitt's Light Bolt and a three-player circle soak, and since soaked circles turn into ground hazards, the bosses must be repositioned immediately afterward.
Key Mechanics
- Light Bolt (Kezkitt) — Constant interrupt target — keeping the interrupt rotation up is half the fight.
 Bedrock Slam — Tank defensive check. Healing cooldowns for the party-wide damage around it.
 Fertile Loam + Lightblossom Beam — Three circles appear on the ground, then a channel begins — three players including the tank must stand in (soak) the circles to prevent the party-wide Lightbloom Overgrowth. Soaked circles become Light-Scorched Earth ground hazards, so reposition the bosses immediately.
 Thornblade (Lekshi) — Random target — move out so you do not cut allies, and run away if she jumps to you.
- Keeping the Light Bolt interrupt rotation up is half the fight.
- Take part in the three-player soak assignments.
- If targeted by Thornblade, move out of the party.
Boss 2
Ikuzz the Light Hunter
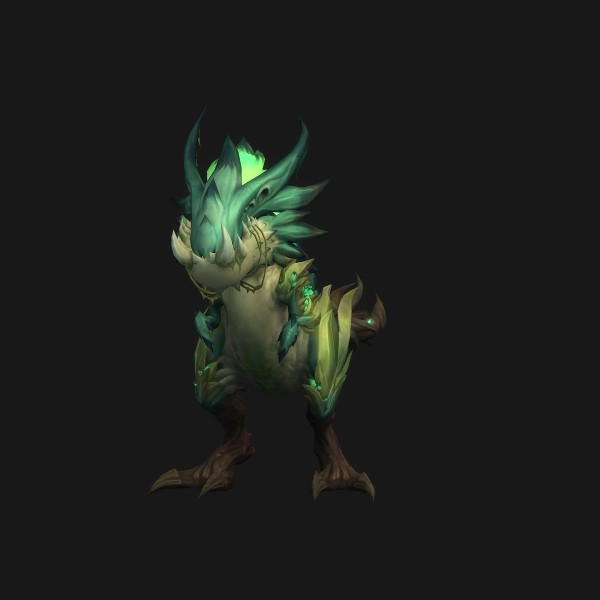
Sustained party-wide damage overlaps with ground roots. From 50% health the boss frenzies and damage rises sharply, making that window one of the dungeon's hardest heal checks.
Key Mechanics
 Thorncaller Roar — Sustained party-wide damage — a heavy healing window.
 Bloodthorn Roots — Roots appear on the ground and snare anyone who steps on them. Break them with AoE damage or remove with freedom effects (Blessing of Freedom and the like). Have a way to free multiple players at once.
 Verdant Stomp — Knockback — manage your facing so you are not pushed into roots (or off ledges).
 Bloodthirsty Gaze — Random-target fixate — the target runs, and kiting the boss over existing roots destroys them. Getting caught means heavy damage plus a stun.
 Lightcrazed Frenzy — From 50% health the boss frenzies and damage increases sharply.
- Free rooted allies immediately with AoE damage.
- If targeted by Gaze, kite along a path that crosses the roots.
- Pre-position before knockbacks.
Boss 3
Lightwarden Ruia
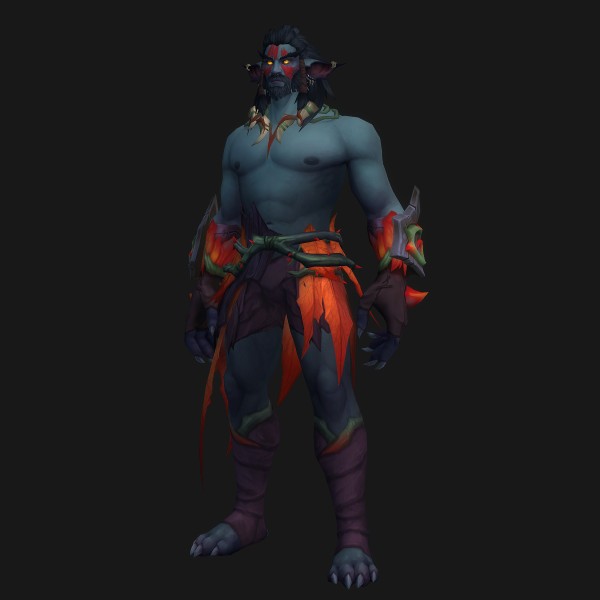
A three-phase shapeshifting boss (100–70% / 70–40% / 40–0% health, per Method). Each phase has a different damage profile, and in phase three all previous patterns cycle back to back.
Key Mechanics
- Phase 1 (Moonbeast) — Warden's Wrath — Interrupt target (reduces tank damage) — assign interrupts.
 Phase 1 (Moonbeast) — Lightfall — Dodge the circular ground effect.
 Phase 1 (Moonbeast) — Lightfire — Debuff on three players — run to the edge to drop the ground effect, then dodge the tornado that spawns on expiry. Debuffed players grouping up to drop together keeps the tornado area tidy and easier to dodge (Method). Use defensives.
 Phase 2 (Bear) — Mangling Claws — Passive effect: stacking tank bleed — tank damage spikes hard this phase.
 Phase 2 (Bear) — Grievous Thrash — Bleed — it persists until the target is fully topped off, so heal them to full immediately (Icy Veins). Combine self-healing and removal.
 Phase 2 (Bear) — Pulverizing Strikes — Frontal cone on a random target — the target takes it alone away from allies while everyone else spreads. A panicking target will cut down teammates.
 Phase 3 (Haranir) — Spirits of the Vale — Channel: cycles Lightfire, Grievous Thrash, Lightfall, and Pulverizing Strikes at roughly 8-second intervals. Use the same answers as the earlier phases, just stacked back to back.
- Assign Warden's Wrath interrupts in phase one.
- If debuffed with Lightfire, group up at the edge to drop it.
- If targeted by the cone, stand still and take it alone.
Boss 4
Ziekket
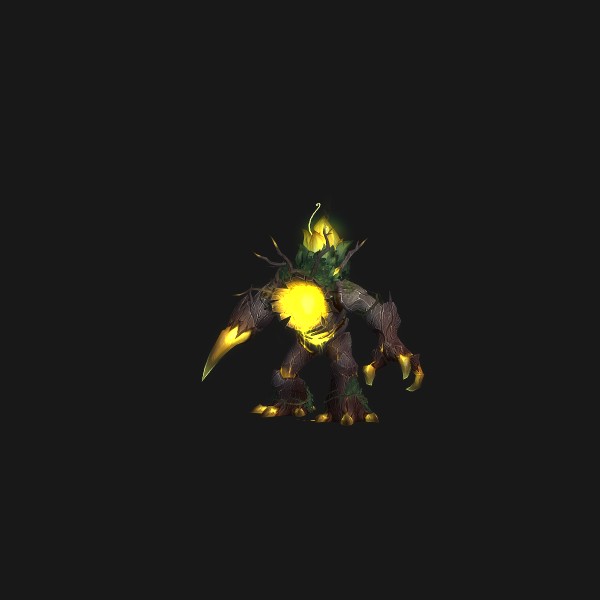
With rolling party-wide damage the entire fight, the core mechanic is killing the summoned Lasher adds and then burning their corpses with the boss's frontal beam so they stay dead. Orbs drifting toward the boss must be soaked and split evenly across the party.
Key Mechanics
 Oozing Xylem — Passive effect: sustained party-wide damage for the entire fight.
 Awaken the Lightbloom — Summons six Lasher adds — kill them with AoE while interrupting or CCing their Lightspore Shot casts.
- Concentrated Lightbeam — Core mechanic: after killing the adds, steer the boss's frontal beam over the dead Lasher corpses to destroy them permanently so they cannot revive. The beam leaves a large ground hazard along its path, so herd the boss and adds toward the platform edge.
 Lightbloom's Essence — Orbs drift toward the boss — body-block and soak them before they reach it. Each stack increases damage taken but also damage and healing done, so the rule is to split them evenly across the party. Do not overstack alone without healer support. (The August 20 hotfix reduced the periodic damage by 25%.)
 Thornspike — Tank-targeted hit plus knockback — defensives or bleed removal.
- AoE the adds while keeping the Lightspore Shot interrupt rotation.
- Share the orb soaks — do not greedily hoard stacks.
General Tips
- Route convention: the left route from the entrance (Light-Starved Blossom buff) is standard. Method's PUG-friendly MDT route: https://wago.io/HLI3Wq7sA
- Bloodlust timing: no explicit consensus across sources was confirmed (insufficient information). However, sources agree the hardest heal checks are Ikuzz below 50% (frenzy) and Ziekket's add phase, so aligning it with one of those two based on key level and composition is the natural call.
- Common mistake (BuyBoost, cross-checked): failed caster interrupts — especially letting the Radiant Spellsower's Light Bolt Volley go, which wakes the dormant Lashers.
- Common mistake: slow root breaking on Ikuzz paralyzes the party's mobility — overlapping with the knockback and fixate, it wipes groups.
- Common mistake: the Pulverizing Strikes cone target moving during Ruia's bear phase and cutting down allies.
- Common mistake: soaking orbs on Ziekket into heavy stacks without healer coordination.
- Common mistake: chaining death explosions from Lightwarden's Blight carriers in large pulls.
- The August 20 balance tuning reduced the periodic damage of Ziekket's Lightbloom's Essence by 25%.