Midnight
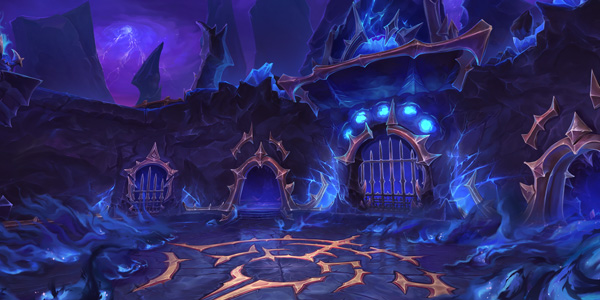
Voidscar Arena
Timer 30 min3 bossesA dungeon where interrupt assignments, fast dispels (poison/curse), trash cleanup, and movement all need to be solid to make the timer.
Located in northern Voidstorm, north of Slayer's Rise (coordinates 53.6, 34.4), reached via the portal in Silvermoon City (35.3, 65.3). The Mythic+ timer is 30 minutes and the dungeon has a three-boss structure: Taz'Rah, then Atroxus, then Charonus. It is a Midnight Season 2 Mythic+ rotation dungeon; because of its arena concept, dangerous trash waves are placed before each boss, and there is heavy shadow and nature (poison) AoE damage. Right after the start there is a left/right fork, each with a different miniboss granting a different dungeon-wide buff.
Researched early in the season. Unconfirmed details are marked as such in the text.
Trash
| Must-Interrupt — Spell | Caster |
|---|---|
 Mad Shriek / Mass ShriekAoE fear — must interrupt every cast Mad Shriek / Mass ShriekAoE fear — must interrupt every cast | Kilivore Screamer |
 Demoralizing ShoutInterrupt every cast Demoralizing ShoutInterrupt every cast | Dominated Brawler |
 Shadowbolt VolleyAoE shadow damage — interrupt on cooldown Shadowbolt VolleyAoE shadow damage — interrupt on cooldown | Voidtouched Magi |
 Lava BoltInterrupt; when a Magma Totem is summoned, kill the totem immediately Lava BoltInterrupt; when a Magma Totem is summoned, kill the totem immediately | Enthralled Shaman |
 Violent SandInterrupt on cast Violent SandInterrupt on cast | Angry Krolusk |
Dispels
- Corrosive Essence (Agitated Voidscythe) — dispel immediately
- Melt Armor (Sycophantic Tarasek) — reduces tank armor, dispel with priority
Trash waves before each boss
- Pull only as much as your interrupt rotation can handle. For double packs with overlapping interrupt targets, assign kick order before engaging.
- Brutal Overseer's Brutal Slams: when its shield appears, call focused damage on it.
- When an Enthralled Shaman summons a Magma Totem, kill the totem immediately.
- Raj'kess the Spellstorm (right-side miniboss) channels Thundering Storm: sustained party-wide AoE — time your AoE healing cooldowns.
- Devouring Brutalizer's Dreadbellow: heavy AoE damage.
- Chitigoth (elite)'s Insidious Aura: sustained AoE DoT — call externals/AoE heals in advance.
- Poison and armor-reduction dispels are frequent, so do not hoard dispel resources.
Bosses
Boss 1
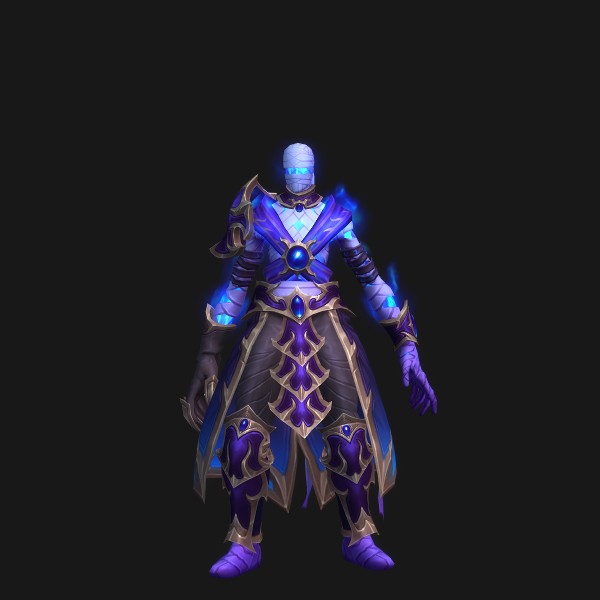
Taz'Rah
Shadow-themed patterns: a combination of line charges, accumulating ground pools, and AoE damage.
Key Mechanics
 Nether Dash — A straight-line charge. The ethereal wraiths the boss summons (Gather Shadows) use it as well. If the party stays loosely stacked, cleaning up the subsequent ground effects (Umbral Rupture pools, rift remnants) is easier.
- Ethereal Shards — Fires two red lasers — the common Korean community approach is for the target and one other player (usually the tank) to each soak one.
- Rifts of Darkness — Pulling rifts — keep moving so you are not sucked in.
 Dark Bloom — Many orbs/projectiles burst out of the ground effect — dodge all of them; getting hit is lethal.
 Void Blast — Tank hit plus knockback — check behind you so you are not knocked into existing pools.
 Umbral Rupture — AoE damage plus ground pool creation.
- Top the party off before Umbral Rupture casts.
- Focus heal the soakers right after the Ethereal Shards split.
Boss 2
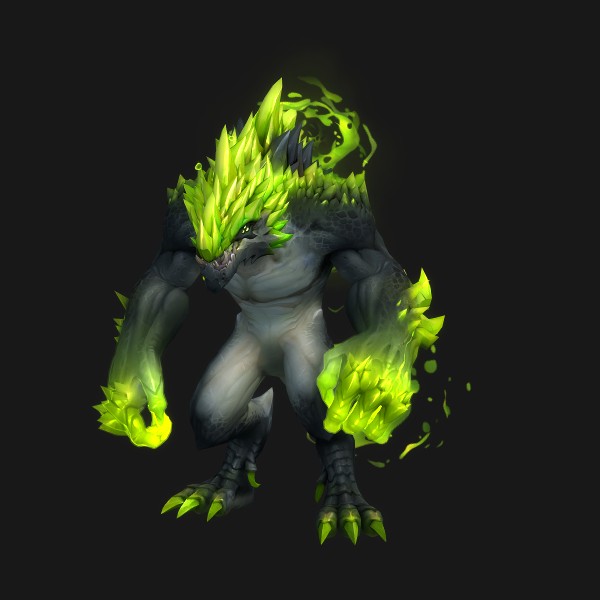
Atroxus
A poison-themed behemoth. Handling the adds (Toxic Creepers) and managing poison pools is practically the whole fight.
Key Mechanics
 Poison Splash — During the channel, many Poison Pools spawn — standing in one applies the Mind-Numbing Poison debuff.
 Noxious Breath — Frontal breath — sidestep it.
 Monstrous Roar (add summon) — Summons Toxic Creepers. Left alone, their Toxic Aura stacks party-wide AoE damage, so they are the top kill priority.
 Hulking Claw — Tank hit — active mitigation, and the poison debuff afterwards needs a dispel.
 Sickening Bite — The Creepers slam their melee target — even a tank can be one-shot once stacks build.
- Assign AoE healing cooldowns to the Creeper phases — the stacking Toxic Aura damage is the most dangerous window.
- Keep poison dispels rolling constantly (including the tank's poison after Hulking Claw).
Boss 3
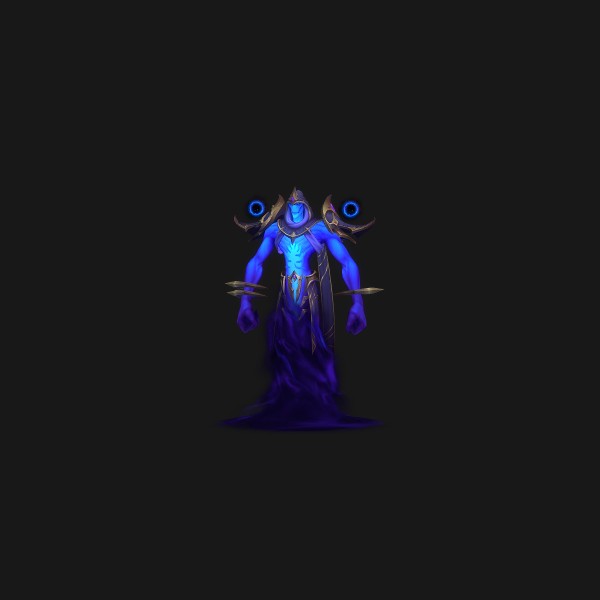
Charonus
The dungeon's master. A mechanics boss centered on placing singularities (black holes) and steering orbs into them.
Key Mechanics
- Unstable Singularity — Blue ground effect under players — the common Korean strategy is to stack them near the center of the map to form the black holes (stars). Touching a singularity causes pull-in/AoE damage, and being forced inside applies Atomized (unable to deal damage or heal), so never touch one with your body.
 Gravitic Orbs — Blue orbs chase three players — steer them into the placed singularities (black holes) to destroy them. The longer you drag it out, the higher the Condensed Mass damage, and they deal AoE damage on explosion.
 Void Cascade — A blue arrow marks the target overhead, then a knockback followed by many projectiles. Keep moving to dodge. The community discusses hiding behind a singularity to avoid this pattern.
 Cosmic Crash — Requires distance between party members — spread out.
 Dark Waves — Tank hit — active mitigation, and do not aim it toward party members.
- Focus care on Gravitic Orb targets (especially slower-moving party members) — stacking Condensed Mass damage is the number one cause of deaths.
- Assign cooldowns to the AoE damage around orb explosions and singularity formation.
General Tips
- Route (left/right fork): the right side kills Raj'kess the Spellstorm for the Proof of Mastery buff; the left side kills Aegyra the Unyielding for the Proof of Endurance buff. Sources disagree on the recommendation — Method recommends left because it has a lighter interrupt load and better buff value, while Icy Veins recommends right (Mastery, movement-speed related). If your party is short on interrupts, left is the safe choice.
- Right side (Raj'kess): dodge Raging Typhoon ground effects, use defensives during the Thundering Storm channel, and focus down the three summoned orbs.
- Left side (Aegyra): dispel/escape the Champion's Spear root, dodge Savage Smash, dodge the Earthsplitter AoE, and heal through the Ferocious Leap bleed.
- Bloodlust timing: no explicit recommendation was found in the sources (insufficient information). By general convention, many parties would likely use it on Atroxus (boss 2), whose add kill (Toxic Creepers) is the damage check, or on the opening large pack — but this is not confirmed.
- Common mistake: soaking both Ethereal Shards lasers alone on boss 1 (not knowing the two-player split).
- Common mistake: the tank getting one-shot by Sickening Bite from tanking the Creepers in melee on boss 2.
- Common mistake: killing the Creepers too slowly on boss 2, wiping the party to stacked Toxic Aura.
- Common mistake: scattering singularities around the edges on boss 3, failing the Gravitic Orb steering and dying to Condensed Mass.
- Common mistake: failing to interrupt the fear (Mad Shriek) on trash, scattering the party across ground effects.