Battle for Azeroth
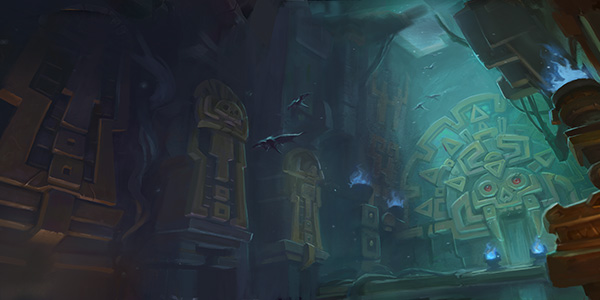
Kings' Rest
Timer 33 min4 bossesRated among the hardest dungeons on community tier lists at the start of Season 2 — considered the top difficulty of Season 2. The cause is trash more dangerous than the bosses, no route flexibility, and many frontals and priority-interrupt casts in cramped rooms.
Set in the tomb of Zandalar's past kings beneath the Atal'Dazar temple in Zuldazar, Kings' Rest is a Battle for Azeroth (BfA) dungeon returning as one of the eight Mythic+ rotation dungeons in Midnight Season 2 (Patch 12.1). In the Silkstream Season 2 it is entered through the Silvermoon Timeways portal. The keystone timer is 33 minutes, and the Portal (Keystone Hero) requires clearing within the +10 time limit. It is a completely linear corridor dungeon with almost no skips or route flexibility. The Season 2 retuning sped up RP pacing, fixed the Council of Tribes spawn order, and redesigned the final boss Dazar's mechanics, so do not trust BfA-era guides as-is.
Researched early in the season. Unconfirmed details are marked as such in the text.
Trash
| Must-Interrupt — Spell | Caster |
|---|---|
 Hex VolleyTop-priority kick. If it goes off, the party takes heavy AoE damage. Hex VolleyTop-priority kick. If it goes off, the party takes heavy AoE damage. | Risen Hexer |
 Shadowfrost BoltInterrupt or dispel (magic). Shadowfrost BoltInterrupt or dispel (magic). | Risen Hexer |
 Unholy MendingInterrupt; if it lands, purge it immediately. Unholy MendingInterrupt; if it lands, purge it immediately. | Seneschal M'bara |
 Bind SoulInterrupt. Bind SoulInterrupt. | King Timalji & Queen Wasi |
 Wretched DischargeInterrupt every cast — if it goes off, the whole party takes an AoE DoT. Same for the mummies on the Mchimba fight. Wretched DischargeInterrupt every cast — if it goes off, the whole party takes an AoE DoT. Same for the mummies on the Mchimba fight. | Half-Finished Mummy |
 HexInterrupt or dispel every cast — a party member turned into a frog can collapse the group fast in these cramped rooms. HexInterrupt or dispel every cast — a party member turned into a frog can collapse the group fast in these cramped rooms. | Phantom Hex Priest |
 Spectral BoltInterrupt. Spectral BoltInterrupt. | Phantom Hex Priest |
 Poison NovaMust be interrupted — if it goes off it is near party-wipe damage. Assign kicks with top priority. Poison NovaMust be interrupted — if it goes off it is near party-wipe damage. Assign kicks with top priority. | Zanazal the Wise (Council of Tribes) |
 Deathly RoarInterrupt every cast. Deathly RoarInterrupt every cast. | Dazar, the First King |
Dispels
- Shadowfrost Bolt (Risen Hexer) — magic dispel
- Ancestral Fury (Shadow-Borne Champion) — enrage effect, remove with soothe
- Serpent Strike (Queen Patlaa) — poison dispel
- Bestial Frenzy (Queen Patlaa) — enrage, remove with soothe
- Mortal Hemorrhage (King A'akul) — prioritize the bleed dispel; Absorb Blood deals extra damage to bleeding targets
- Frost Shock (Spectral Shaman) — dispel
- Hex (Phantom Hex Priest) — dispel if the interrupt is missed
- Severing Axe (Kula the Butcher) — bleed dispel or defensive
- Post-Drain Fluids debuff (Mchimba the Embalmer) — removed by healing the target above 90% health
- Savage Maul (Dazar) — bleed dispel or defensive
- Impaling Spear (Dazar) — being hit applies a bleed; dispel or defensive
- Dark Revelation (Shadow of Zul) — purge the buff; also purge the shields on Zul's Minions
Section 1: Entrance to The Golden Serpent
- Animated Guardian: immune to CC. Slam frequency increases below 50% health. Suppression Slam (frontal slam) — everyone except the tank stands behind.
- Risen Hexer: interrupt Hex Volley before it finishes — top-priority kick target. Shadowfrost Bolt should be interrupted or dispelled (magic).
- Shadow-Borne Champion: immune to CC. Ancestral Fury (an enrage effect) is removed with soothe. Dodge the shadow whirl ground effects. Move behind it during the shield pattern.
- Hex Volley deals heavy AoE damage if it gets through.
- Be ready to dispel the Shadowfrost Bolt debuff.
Section 2: The Golden Serpent to Mchimba the Embalmer (Hall of Kings and Queens)
- The most accident-prone stretch of the dungeon. The spirits of dead kings and queens appear here.
- Seneschal M'bara: interrupt Unholy Mending; if it lands, purge it immediately.
- King Timalji & Queen Wasi: shared health. Interrupt Bind Soul. Spread out for the burst slam.
- Queen Patlaa: immune to CC. Dodge the shadow volley ground effects. Dispel Serpent Strike (poison). Remove Bestial Frenzy with soothe.
- King A'akul: immune to CC. Mortal Hemorrhage — tank defensive. Absorb Blood deals extra damage to bleeding targets, so prioritize dispelling the bleed.
- Purification Construct / Interment Construct: immune to CC. The Interment Construct entombs a party member in a sarcophagus — rescue them with the Extra Action Button before the wail goes off.
- Half-Finished Mummy: interrupt Wretched Discharge on every cast — if it goes off, the whole party takes an AoE DoT.
- Royal Berserker types: the frontal sweep stacks a heavy bleed per tick — no one but the tank in front.
- Poison, bleed, and magic dispels all appear in this section — know your own dispel types in advance.
- Rescuing from the sarcophagus costs healing uptime, so top off DoT damage before going for the rescue.
Sections 3-4: Mchimba to the Council of Tribes to Dazar (Shadow of Zul)
- Spectral Shaman: destroy the healing totem immediately — leaving it up heals the entire pack. Number one focus target. Dispel Frost Shock.
- Phantom Hex Priest: interrupt or dispel Hex on every cast — a party member turned into a frog can collapse the group fast in these cramped rooms. Also interrupt Spectral Bolt.
- Ghostly Brute: immune to CC. Soul Crush (a tank damage-amplification debuff) — use a defensive. Dodge the seismic upheaval ground effects.
- Honored Raptor: stop Hunting Leap with CC if you can.
- Shadow of Zul: mini-boss event before the final boss. Two players must stand in the Pool of Darkness to prevent the AoE explosion — if the pool is left unsoaked, the whole party takes burst damage. Purge the Dark Revelation buff. Kill the summoned Zul's Minions immediately (purge their shields). Its damage was adjusted in Season 2, but it remains one of the dungeon's biggest wipe spots.
- The two pool soakers take sustained damage — save externals and cooldown heals for them.
Bosses
Boss 1
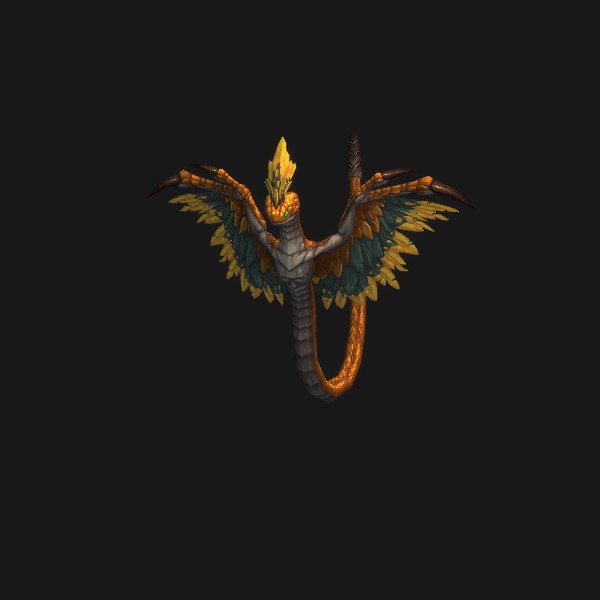
The Golden Serpent
A boss that is entirely about gold pool placement and add management. Failing to stack the pools in one spot empowers the adds.
Key Mechanics
 Spit Gold — Targets two random players — it leaves pools, so stack them in one spot. Scattering the pools empowers the adds summoned later.
 Lucre's Call — Raises the gold pools on the floor into Animated Gold adds. Slow or CC them and clear them with AoE.
 Serpentine Gust — Channeled party-wide AoE — time party defensives and healing cooldowns.
 Tail Thrash — Hits the tank; low threat.
- Run a cooldown rotation for every Serpentine Gust channel.
- Overlapping pools plus a Gust is the biggest danger.
Boss 2
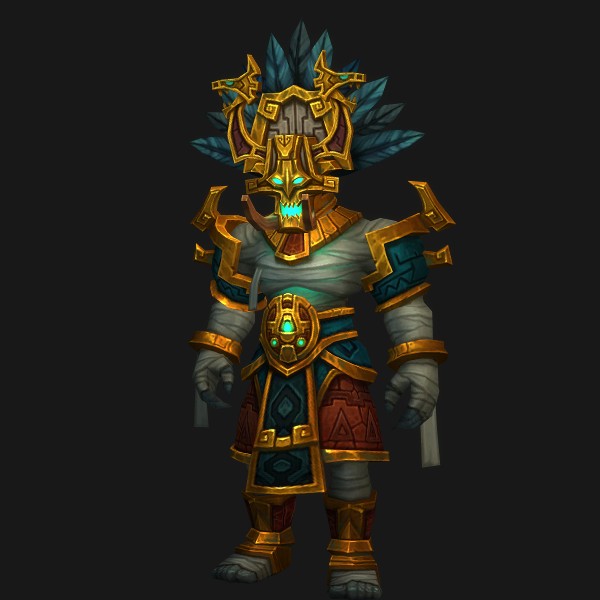
Mchimba the Embalmer
A personal-responsibility boss that isolates party members in sarcophagi. Keeping rescue paths clear and healing Drain Fluids targets above 90% are the keys.
Key Mechanics
 Entomb — Locks one random player inside one of four sarcophagi. The trapped player shakes their coffin to signal their location, and the party finds the shaking coffin and opens it to rescue them. A late rescue spawns an extra Half-Finished Mummy.
 Drain Fluids — Channeled on a random target. Dodge the ground effect or use a defensive. After the channel a debuff remains on the target that is removed by healing them above 90% health — the healer should top them off immediately.
 Burn Corruption — Fire pools — bait them far from the boss and the sarcophagi. Pools dropped near the sarcophagi block the rescue paths.
 Awakening Slam — Summons two Half-Finished Mummies — top off the party's health before the summon. Interrupt the mummies' Wretched Discharge every time.
- Healing Drain Fluids targets back above 90% is the top priority.
- You can be entombed yourself, so keep HoTs and shields rolling before it happens.
Boss 3
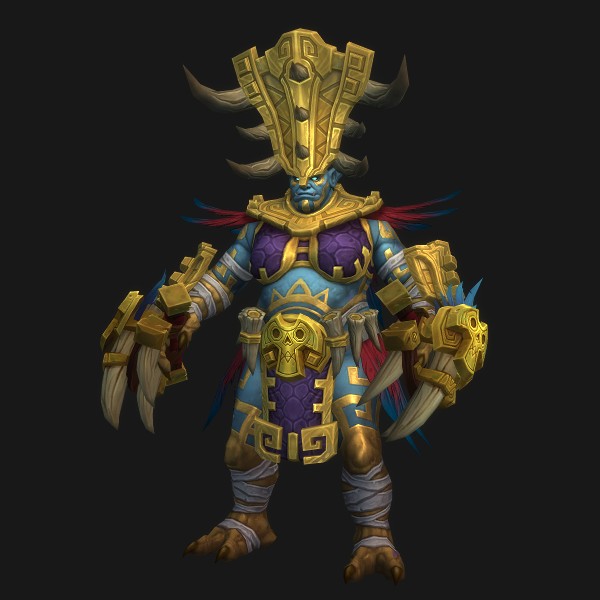
The Council of Tribes
Three council members appear one at a time in sequence, and in Season 2 the order is fixed. Defeated members also periodically return briefly to use one ability before leaving again.
Key Mechanics
 Severing Axe — Kula the Butcher — A bleed on a random target — dispel the bleed or use a defensive.
 Whirling Axes — Kula the Butcher — An explosion at the cast point plus spinning projectiles — dodge the initial hit, then avoid the axe trajectories. The tank must hold the boss in the center of the room so the party has space to dodge.
 Barrel Through — Aka'ali the Conqueror — A straight-line charge — a mechanic the party splits and soaks together. It keeps occurring even after Aka'ali is defeated.
 Debilitating Backhand — Aka'ali the Conqueror — Knocks the tank back and amplifies damage taken — use a major defensive or kite briefly.
- Poison Nova — Zanazal the Wise — Must be interrupted — if it goes off it is near party-wipe damage.
 Arc Lightning — Zanazal the Wise — Cleaves from the tank — be ready for party-wide AoE damage.
- Call the Elements — Zanazal the Wise — Summons four totems — destroy them in order: explosive totem, thunder totem, torrent totem.
- Dispel the Severing Axe bleed (if your class can).
- Focus the tank after Debilitating Backhand.
- Be ready for Zanazal's lightning AoE.
- Do not forget the returning council members' surprise abilities (Barrel Through and the like).
Boss 4
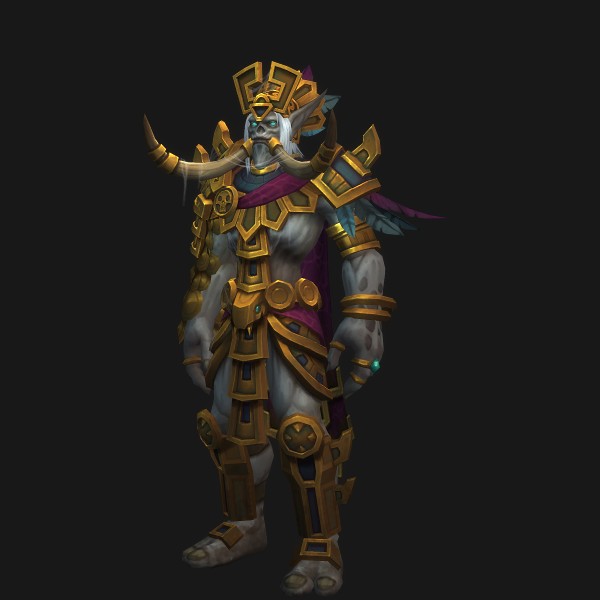
Dazar, the First King
His ability kit was redesigned in Season 2 — do not use BfA guides. He starts alongside his pet raptor Reban and mounts Reban at 80% health, becoming empowered.
Key Mechanics
 Hunting Leap — Phase 1 — Reban leaps to the tank — the party stands to the side and rear so only the tank takes the follow-up frontal.
- Deathly Roar — Phase 1 — Interrupt every cast.
- Focus Reban first — Phase 1 — Killing Reban first reduces the pressure of the mounted phase.
 Aerial strike into Quaking Leap — Phase 2 — Leaps to random targets (four of them after mounting) — spread out to avoid stacked cleave hits. If you are the farthest target, a combat-drop ability (invisibility, dive, etc.) can cancel it.
 Blade Combo — Phase 2 — A multi-hit tank buster — the hits get harder as the combo goes on, so use a defensive early. Hits 2-4 were nerfed by 12-20% in 12.1.
 Savage Maul — Phase 2 — A bleed that lands right before Blade Combo — dispel the bleed or use a defensive. Comes with a 10% armor reduction.
 Gilded Destruction — Phase 2 — Party-wide AoE, and afterwards the boss's melee attacks become frontals — the party must never stand in front of the boss.
 Impaling Spear — Phase 2 — Dodge the circular ground effect. Being hit applies a bleed — dispel or defensive.
- The Gilded Destruction AoE overlapping the tank buster is the healing check.
- A failed Quaking Leap spread means burst damage — save externals.
- Bleed dispels keep you busy.
General Tips
- Route: as a linear dungeon there are effectively no route choices — some trash was removed in 12.1, but most remaining packs are needed for count. The whole route question is how to split and pull packs, especially in the Hall of Kings and Queens. PUG-friendly MDT route (by Method): https://wago.io/U22_Bys16
- Bloodlust: the standard play is saving it for bosses — especially the Council of Tribes (Zanazal phase) or Dazar. If the party struggles on trash, using it on the double pack in the Hall of Kings and Queens is also valid.
- Common mistake: starting without kick assignments — this dungeon has an unusual number of casts that are lethal if they get through, such as Hex, Poison Nova, and Unholy Mending.
- Common mistake: scattering the Spit Gold pools on The Golden Serpent, empowering the Animated Gold.
- Common mistake: dropping fire pools on the sarcophagi or the center on Mchimba, blocking the rescue paths.
- Common mistake: botching the Shadow of Zul pool rotation (fewer than two soakers), causing party-wide burst damage.
- Common mistake: failing the Quaking Leap spread on Dazar and stacking the cleave.
- Common mistake: relying on BfA-era memory (random council order, old Dazar patterns) — Season 2 is different.
- Common mistake: corner-pulling in the narrow corridors and dragging in patrols.
- Season 2 change: faster RP and dialogue pacing — the post-boss dialogue and cutscene interruptions were adjusted so the run keeps moving.
- Season 2 change: fixed Council of Tribes order — in BfA the order of the three council members was random each week; in Season 2 it is fixed. Reported by international guides as Kula, then Aka'ali, then Zanazal — verify in game.
- Season 2 change: Shadow of Zul (the pre-final-boss mini-boss) was adjusted after the review found its damage excessive.
- Season 2 change: Dazar redesigned — mechanics that did not fit modern Mythic+ were replaced. Season 2 Dazar has a new ability kit, so do not trust BfA-era guides as-is.
- Season 2 change: 12.1 PTR tuning — some trash removed. Dazar's Blade Combo nerfed by -12% on hit 2, -15% on hit 3, -20% on the final hit; Savage Maul's armor reduction eased from 15% to 10%.
- The lack of per-boss respawn checkpoints was flagged for review, but whether checkpoints were actually added is unconfirmed (insufficient information) — verify in game.
- Across the board, Season 2's returning dungeons have slightly higher enemy health, making priority damage and cooldown timing more important, and frontal/line ability cast warnings are now displayed more clearly.
- Some Korean ability names follow BfA-era translations and may have changed with the Midnight Season 2 redesign (especially Dazar's new abilities). Cross-check with the in-game Adventure Guide.