Midnight
Murder Row
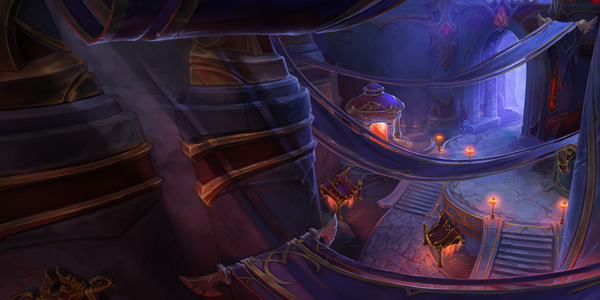
Timer 34 min4 bossesAmong the harder dungeons of Season 2 — boss mechanics are fairly simple, but trash density is high with many casters, so interrupt rotations and trash pacing are the key.
A four-boss dungeon set in the fel-smuggling district inside Silvermoon City. The timer is about 34 minutes (per Method; may change with patches — check in game). The common verdict is that the timer is tight and you cannot make it if you bleed time on trash; it is a dungeon that demands execution (interrupts, dispels, spreading). Healer-perspective reviews rate the boss 1 pet dispels and the constant rot damage in the boss 4 area as the heaviest burdens.
Researched early in the season. Unconfirmed details are marked as such in the text.
Trash
| Must-Interrupt — Spell | Caster |
|---|---|
 SeductionInterrupt/CC mandatory. If missed, a party member gets charmed. SeductionInterrupt/CC mandatory. If missed, a party member gets charmed. | Seductive Sayaad |
 Fel MissilesInterrupt target in the area before boss 1. Fel MissilesInterrupt target in the area before boss 1. | Felonious Mage |
 Scathing ReviewMust be interrupted during the tavern event so your star rating does not drop. Scathing ReviewMust be interrupted during the tavern event so your star rating does not drop. | Influential Reviewer |
 Fel RageInterrupt or soothe. Fel RageInterrupt or soothe. | Wrathguard Flayer |
 Mirror ImageThe 5 mirror images vanish instantly when hit by an interrupt/CC — assign interrupts/stuns the moment they spawn. Mirror ImageThe 5 mirror images vanish instantly when hit by an interrupt/CC — assign interrupts/stuns the moment they spawn. | Kystia Manaheart (boss 1) |
 Felfire BurstClean up with interrupts/CC/AoE. Felfire BurstClean up with interrupts/CC/AoE. | Wild Imps (boss 4, Lithiel) |
 Chaos BoltRandom target — keep a fixed interrupt rotation. Chaos BoltRandom target — keep a fixed interrupt rotation. | Lithiel Cinderfury (boss 4) |
Dispels
- Cutpurse (bleed) — Row Hooligan-type mobs, healer dispel check
- Corroding Spittle — Nibbles (boss 1 pet), magic dispel. The healer's core job on this boss
- Flay (bleed) — Wrathguard Flayer's random-target bleed, dispel it
- Curse of Doom — Corrupted Warlock, dispel immediately if you have a curse dispel. If anyone dies to the curse a Doomguard is summoned, so never leave it unattended
- Envenom — Zaen (boss 2), reduces tank max health by 50%, poison dispel
- Enrage — Keen Taskmaster enrages nearby mobs, soothe is mandatory
Entrance event + area before boss 1 (Kystia)
- In the area before the first boss you must interact with 4 Snitches to progress.
- A felcrystal merchant sells one-time-use buff items (Heartstop Poison / Felwyrm Egg (15% haste) / Loaded Pistol / Felstone movement speed), but only 1 party member can take each item.
- Bribed Captain: CC immune. Gives nearby allies a damage-increase buff (Deep Corruption), so kill it first. Stacking debuff on the tank (Shield Bash) plus a glaive frontal cone.
- Seductive Sayaad: Seduction channel — interrupt/CC mandatory. If missed, a party member gets charmed.
- Felonious Mage: Fel Missiles is the interrupt target.
- Massive Felwyrm: sustained AoE damage plus add summons. Hold defensives and melt it fast.
- Row Hooligan-type mobs: Cutpurse (bleed) — healer dispel check.
- Manage bleed stacks. Per the Inven healer review, when the dots stack, DPS without defensives drop first — call externals for dot targets.
Tavern event (between boss 1 and 2, mandatory) + warehouse area before boss 2 (Zaen)
- Tavern event: each party member is assigned a random role — Server (deliver food) / Entertainer (step on note markers in order) / Cleaner (sweep puddles with a broom) / Bouncer (push out rowdy patrons).
- Completing tasks fills the star rating and grants a 5-minute 10% attack power/healing buff — carrying it into boss 2 is standard practice.
- The Influential Reviewer's Scathing Review channel must be interrupted so your star rating does not drop.
- Warehouse Worker: Sharp Nail (bleed) — even DPS should use personal defensives.
- Keen Taskmaster: enrages nearby mobs, spiking tank damage — soothe is mandatory; if you have none, kill it first.
Area before boss 3 (Xathuux) — most dangerous trash in the dungeon — + area before boss 4 (Lithiel)
- The stretch between boss 2 and boss 3 is the acknowledged most dangerous section. Everything is CC immune, so you cannot flatten it with hard CC.
- Shivan Punisher: at 50% it gains Demonic Frenzy (periodic AoE damage) — the moment it drops below 50%, everyone focuses it down immediately. Melee move out of Whirlwind.
- Wrathguard Flayer: Fel Rage buff — interrupt or soothe. Dispel the random-target bleed (Flay).
- Corrupted Warlock: Curse of Doom — dispel immediately if you have a curse dispel, otherwise heal through it with AoE healing. If anyone dies to the curse a Doomguard is summoned, so never leave it unattended. Dark pact shield at 50%.
- Felmaster Lucsei: mini-boss tier. Blade Dance stacks dots — AoE healing cooldown window. The Eye Beam frontal must be faced away from the party by the tank.
- Before boss 4 — Defiled Golem: heavy AoE channel (Defiled Slam) — healer cooldowns ready. Fel Beam puts a line zone on everyone, so pre-spread.
- Before boss 4 — Infernal and Vilefiend-type mobs: per the Inven healer review, an area with lots of adds and endless rot damage.
Bosses
Boss 1
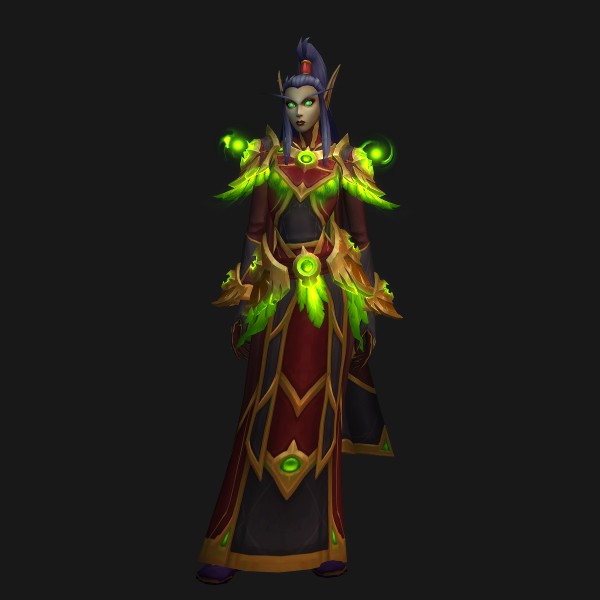
Kystia Manaheart
Kystia herself takes greatly reduced damage (about 80%) from Felshield. You must kill the pet Nibbles first; when Nibbles reaches 20% the Destabilized channel begins and a vulnerability phase on the boss opens.
Key Mechanics
 Felshield — The boss takes about 80% reduced damage. Kill the pet Nibbles first.
 Destabilized — Channel at Nibbles 20% — heavy party-wide AoE damage while the damage-taken (vulnerability) phase on the boss opens.
- Mirror Image — 5 mirror images are summoned periodically. They vanish instantly when hit by an interrupt/CC.
 Corroding Spittle — Nibbles' magic debuff — dispelling it is the healer's core job. A single dot can take half a health bar.
 Fel Spray — Nibbles' frontal — tank faces it away from the party.
- Chaos Barrage — Hits the tank then bounces — use a defensive for the spike.
 Fel Nova — Circular ground zone — dodge.
- Dispelling Nibbles' Corroding Spittle is the core job on this boss — the Inven healer review also ranks pet magic dispels as priority one.
- Pre-plan an AoE healing cooldown for the Nibbles 20% moment.
- A single dot can take half a health bar, so keep the party topped preemptively.
Boss 2
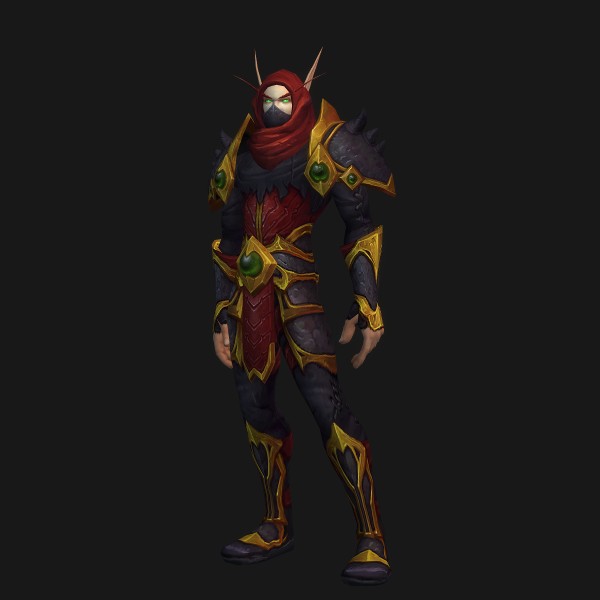
Zaen Bladesorrow
A cover-mechanic boss with cargo crates (barrels) scattered around the room. The common Korean community verdict: play the mechanics correctly and it is a freebie, fail them and it gets steeply harder.
Key Mechanics
 Murder in a Row — Everyone gets laser-targeted and each player must hide behind a different crate (one player per crate).
 Fire Bomb — The target's underfoot explosion destroys nearby crates, so handle it away from the crates.
 Fel-Infused Freight — Crates holding green liquid (fel energy) should instead be broken to prevent an AoE damage spike.
 Envenom — Reduces the tank's max health by 50% — poison dispel target.
 Killing Spree — Heavy channeled AoE damage.
- AoE cooldown for the Killing Spree channel.
- Dispel Envenom immediately (poison).
- Keep the party at full health right before Murder in a Row.
Boss 3
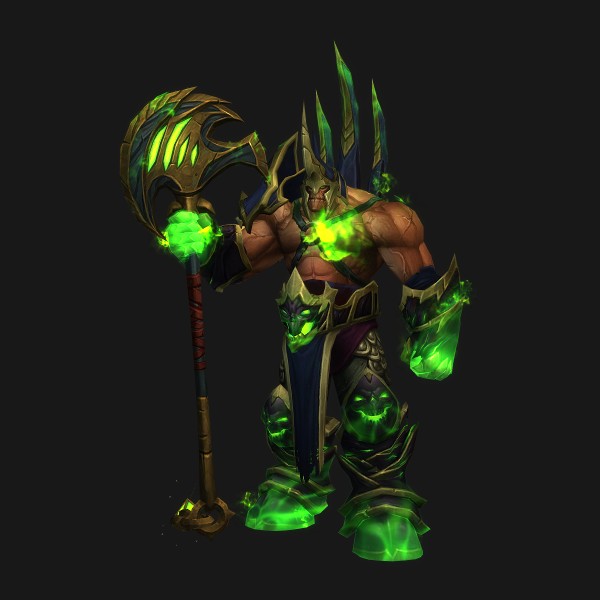
Xathuux the Annihilator
Legion Axes summoned by Axe Toss are the top kill priority — the longer they are ignored, the more party damage stacks up. During Demonic Rage the tank kites slowly along the room's edge.
Key Mechanics
 Axe Toss / Legion Axe — Focus the summoned Legion Axe first. The axe target should stand next to the boss so the axe lands inside cleave range.
 Demonic Rage — Boss attack speed and damage spike while it chains ground zones — the tank kites slowly along the room's edge (do not use more than half the room at once). There is a window where the boss takes increased damage, so it is a burst timing.
 Infernal Crush — Party-wide defensive-level AoE — spread to avoid overlapping hits.
 Legion Strike — Frontal — leaves a healing-taken reduction.
- Pre-plan an AoE cooldown before Infernal Crush.
- Tank healing must be big because of the Legion Strike healing reduction.
- The AoE itself is manageable, but melee who leave the wide post-AoE zone late drop to half health — call the movement.
Boss 4
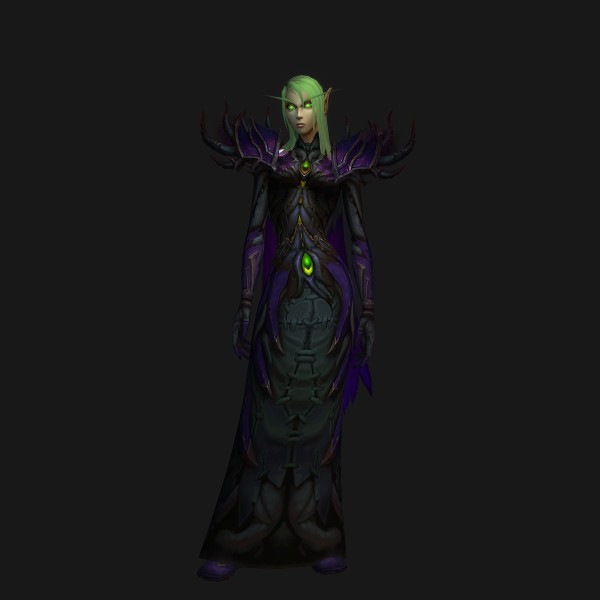
Lithiel Cinderfury
The final boss and the dungeon's hardest test. Searing Fel Flame deals constant AoE damage for the whole fight, and you must take the Demonic Gateway to the safe side timed to the end of the Malefic Wave cast.
Key Mechanics
 Searing Fel Flame — Constant AoE damage throughout the fight.
 Fingers of Gul'dan — Wild Imps are summoned and spam Felfire Burst — clean them up with interrupts/CC/AoE.
- Chaos Bolt — Random target — keep a fixed interrupt rotation.
 Demonic Gateway / Malefic Wave — The wave is a lethal-level AoE that leaves 100% fire vulnerability — take the gateway to the safe side timed to the end of the wave cast. Taking the gateway grants immunity to the next wave.
- Unkillable Infernal — Fixates and chases the tank; touching it is lethal.
 Malefic Empowerment — Adds (imps, vilefiends, etc.) must be cleared before the wave reaches them — adds hit by the wave become empowered.
- A healing-intensive fight with constant AoE plus endless rot damage.
- Players hit by the wave cannot be saved through consecutive hits because of the fire vulnerability — call to the party that anyone who also eats the wave cannot be healed, so take the gateway.
- Set the party to full health before and after gateway movement.
General Tips
- Route convention: Method's PUG MDT route (wago.io/mWO70E5hA) is the standard. With so many caster packs, use line-of-sight pulls aggressively and keep trash pacing aggressive to make the timer.
- Bloodlust timing: no explicit consensus confirmed across sources (insufficient information). Structurally the candidates are (1) the most dangerous trash stretch between bosses 2 and 3 (the Lucsei pack), or (2) the final boss Lithiel — since the final boss is widely rated the hardest, using it on the last boss is a safe choice in PUGs.
- Common mistake — on boss 1, missing mirror image interrupts stacks AoE damage / neglecting the pet dispel.
- Common mistake — on boss 2, the Fire Bomb target detonating next to the crates, leaving too few crates to hide behind.
- Common mistake — before boss 3, ignoring the Warlock's Curse of Doom leads to a death, an extra Doomguard summon, and a snowballing wipe.
- Common mistake — on boss 4, taking the gateway with adds still alive wipes the party to empowered adds plus the wave overlap. Not taking the gateway at all is also a common cause of death.
- Carrying the tavern event's 10% buff into boss 2 and pre-assigning the entrance merchant's one-per-person buff items are becoming established PUG etiquette.
- Naming note: boss names (Kystia Manaheart, Zaen Bladesorrow, Xathuux the Annihilator, Lithiel Cinderfury, Nibbles) were verified against Korean community and Korean Wowhead pages. Many ability names lack confirmed official Korean names in the Korean edition of this guide and may differ from official in-game names.