Battle for Azeroth
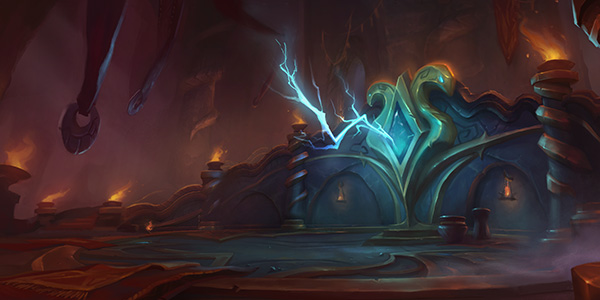
Temple of Sethraliss
Timer 33 min4 bossesA dungeon with very high interrupt and dispel dependency — having a poison-dispel spec and pre-assigned roles determines how hard it feels.
A rework of the Battle for Azeroth dungeon located in Vol'dun, Zandalar, with a 33-minute timer and four bosses: Adderis and Aspix, Merektha, Galvazzt, and the Avatar of Sethraliss. Three different poison debuffs appear throughout the dungeon, so bringing a spec that can dispel poison (healer or a DPS with the utility) lowers the perceived difficulty considerably. A single assignment mistake — a missed beam soak or a missed interrupt — costs more time than a bad pull, so parties that assign roles in advance excel here. The dungeon was notorious for bugs back in BfA (including the infamous final-boss healing reset bug), and it received a major overhaul in Season 2.
Researched early in the season. Unconfirmed details are marked as such in the text.
Trash
| Must-Interrupt — Spell | Caster |
|---|---|
 Poisoned Cheap ShotTop interrupt priority. Became interruptible in Season 2. Approaches while stealthed, so watch positioning when pulling. Poisoned Cheap ShotTop interrupt priority. Became interruptible in Season 2. Approaches while stealthed, so watch positioning when pulling. | Shrouded Fang |
 Lightning BoltDefault kick target. Lightning BoltDefault kick target. | Storm Adept |
 Arrow BarrageChanneled AoE. If it cannot be interrupted, break it with a stun or CC — pre-assign a stun. Arrow BarrageChanneled AoE. If it cannot be interrupted, break it with a stun or CC — pre-assign a stun. | Sandswept Hunter |
 Addle MindTop interrupt priority. Missing it leads to incapacitated party members. Addle MindTop interrupt priority. Missing it leads to incapacitated party members. | Faithless Subjugator |
| Lightning BoltInterrupt target. The same mob's Imbued Conduction is handled with a magic dispel. | Imbued Stormcaller |
 Essence DisruptionEye orb event section. Interrupt or CC immediately — left alone it halts the eye's progress. Essence DisruptionEye orb event section. Interrupt or CC immediately — left alone it halts the eye's progress. | Temple Disruptor |
 Poison SpitAdd summoned during Merektha's burrow phase. Assign a kicker. Poison SpitAdd summoned during Merektha's burrow phase. Assign a kicker. | Toxic Viper |
 Flame ShockFinal boss waves. Keep the kick rotation going. Flame ShockFinal boss waves. Keep the kick rotation going. | Twisted Hexxer |
Dispels
- Cytotoxin — poison debuff from the Poisonous Viper. Top poison-dispel priority — if dispels fall behind, the DoT damage stacks up.
- Poison effects including Poisoned Cheap Shot — three poison debuffs appear across the dungeon, so confirm a poison-dispel-capable spec (healer or utility DPS) at group composition.
- Accumulate Charge — buff on the Agitated Nimbus. Offensive dispel (purge) target — the Release Charge that follows if ignored is heavy party-wide burst.
- Imbued Conduction — debuff from the Imbued Stormcaller. Magic dispel before it expires.
- A Knot of Snakes — Merektha fight. Removed with disruption effects (stuns and similar) — if targets stack in melee, one AoE stun can free several people at once.
Before boss 1 (entrance to Adderis and Aspix)
- The Barbed Krolusk's Serrated Charge leaves a bleed debuff.
- The Sandswept Hunter's Arrow Barrage is a channeled AoE — break it with a stun or CC if it cannot be interrupted.
- The Storm Adept's Lightning Bolt is the default kick target.
- The Shrouded Fang's Poisoned Cheap Shot is the top interrupt priority — interruptible as of Season 2. It approaches while stealthed, so watch positioning when pulling.
- Check pack positions before pulling, accounting for the stealthed Shrouded Fangs joining in.
- Size pulls so Krolusk charge bleeds do not overlap, and use defensives for the charges.
- Bleeds and poisons come in mixed — dispel poisons first.
- Be ready to heal through the Krolusk bleed DoT.
- Split the kick rotation — divide Lightning Bolt and Poisoned Cheap Shot between players.
- Pre-assign who stuns the Arrow Barrage channel.
Before boss 2 (sand canyon)
- The Sand-Sworn Rider's Scouring Sand is a frontal breath — everyone but the tank stays to the side. It also summons packs of Krolusks.
- The Lightning Serpent's Serpent's Stormcall is a ground pool — move out immediately.
- The Poisonous Viper's Cytotoxin is the top poison-dispel priority.
- The Faithless Subjugator's Addle Mind is the top interrupt priority — missing it leads to incapacitated party members.
- Face the Rider's frontal away from the party and gather the summoned Krolusks for AoE cleanup.
- If Cytotoxin dispels fall behind, DoT damage stacks up. Managing your poison-dispel cooldown is the core of this section.
- Always assign someone to interrupt Addle Mind.
- No greeding damage while standing in pools.
Before boss 3 (lightning fields) + Eye of Sethraliss orb event before the final boss
- The Agitated Nimbus's Accumulate Charge is an offensive-dispel (purge) target — the Release Charge that erupts if ignored is heavy party-wide burst, so time defensives.
- The Imbued Stormcaller needs its Lightning Bolt interrupted, plus a magic dispel on Imbued Conduction before it expires.
- The Static Anomaly's Spark Step deals near one-shot damage in melee range — spreading out is mandatory.
- Before the final boss there is an event where you activate two eyes (orbs) while taking constant damage and handling waves. Reworked in Season 2 so there is no longer idle waiting during the orb channel.
- The Temple Disruptor's Essence Disruption channel must be interrupted or CC'd immediately — left alone it halts the eye's progress.
- Drag the Orb Watcher out of the eye's area to kill it.
- Keep the Nimbus in line of sight of whoever can purge, and call party defensives for the Release Charge timing.
- During the eye event, gather wave mobs near the eye so progress and damage happen together. Learn where the Disruptors spawn.
- Dispel Imbued Conduction before it expires. Prepare AoE healing right before Release Charge.
- Tick damage comes in throughout the eye event, so sort out mana before entering.
- If a purge spec (such as a Shaman's Purge) is available, dedicate them to Accumulate Charge. Do not stack near the Static Anomaly.
- During the eye event, interrupting Essence Disruption is practically the whole job — assign an interrupt order.
Bosses
Boss 1
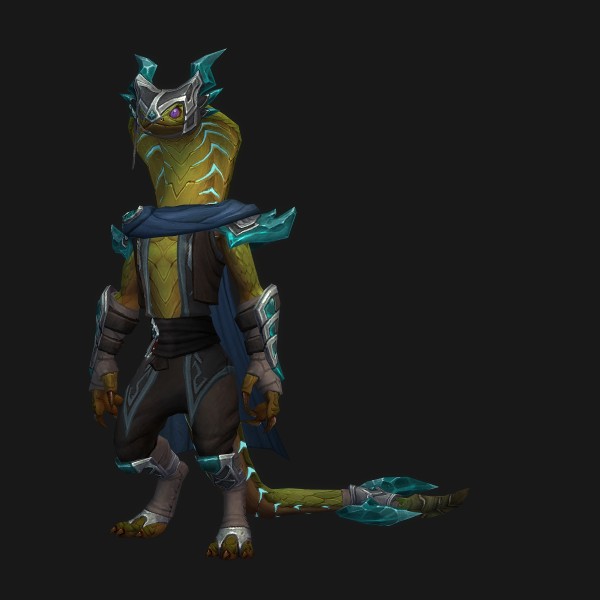
Adderis and Aspix
A duo boss. The core of the Season 2 rework is Storm Blessed — one boss gains a state that greatly reduces the damage it takes, and the blessing periodically transfers to the other. All damage into the protected boss is wasted.
Key Mechanics
 Storm Blessed — One boss gains a damage-reduction shield. Swap targets immediately every time the blessing transfers — a new Season 2 mechanic replacing BfA's simple alternating lightning-shield pattern.
 Tempest Winds — Leaves silence pools — bait them to the edge of the arena.
 Gale Force — Knockback — keep a spread formation and check behind you so you are not pushed into pools or adds.
 Thunder and Lightning — A soak mechanic where the party stacks to split the damage, then spreads back out.
 Overload — Tankbuster — a nature damage spike.
- Plan defensives around Overload timings.
- Splitting the two bosses too far apart costs melee damage on swaps, so keep them reasonably close, while nudging boss positions so silence pools do not cover the melee camp.
- The healing spike comes when the Gale Force knockback and the Thunder and Lightning split damage overlap — have AoE healing ready right after the soak.
- Standing in a silence pool cuts off your healing, so your own positioning comes first.
- Swap targets immediately when the blessing transfers — a slightly broken rotation beats hitting an effectively immune target.
- Confirm who is soaking the stack mechanic.
Boss 2
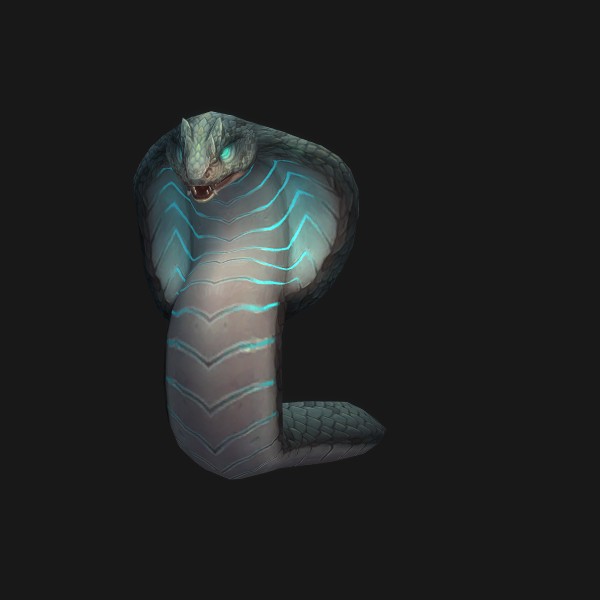
Merektha
A composite fight mixing tankbusters, adds, and a burrow phase. With the Season 2 rework, the burrow phase ends as soon as all summoned adds die — add damage directly shortens the fight.
Key Mechanics
 Lightning Bite — A hard tankbuster — a defensive rotation plan is mandatory.
 A Knot of Snakes — Snakes coil around targets (stun and damage if left alone). Targets should move into melee so one AoE stun can free several coiled players at once. Removed with disruption effects such as stuns.
 Thunder Spit — Leaves Lingering Storm pools — dump them at the edge of the arena. The center must stay clear or burrow-phase movement dies.
 Burrow + Serpentstorm — Dodge the burrowing charges while focusing down the summoned Storm Serpent (double health) first and interrupting the Toxic Viper's Poison Spit. The Serpentstorm channel window is healer cooldown timing. The phase ends immediately once all adds are dead.
- Defensive on every Lightning Bite.
- Herd the vipers near existing pools for AoE cleanup.
- Anticipate where the boss resurfaces during the burrow and avoid killing adds in the center.
- Around this fight, poison dispels are your top job.
- Assign AoE healing cooldowns to the Serpentstorm channel.
- If targeted by the Knot, stack into melee.
- Storm Serpents first in the burrow phase — the faster the adds die, the sooner the boss returns.
- Assign a kicker for Poison Spit.
Boss 3
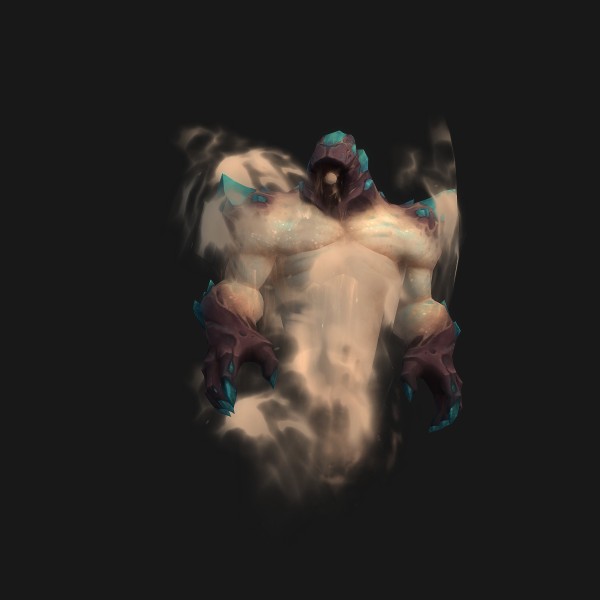
Galvazzt
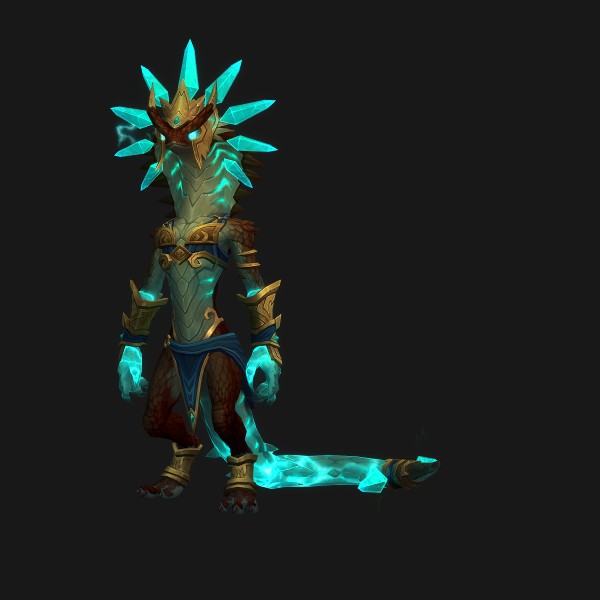
A pure execution-check boss. Lightning Spires spawn around the arena and fire beams at the boss; any beam that reaches the boss builds its energy. Party members must stand between a spire and the boss to body-block the beam.
Key Mechanics
 Beam soaking → Galvanized — Soaking deals nature damage and applies a stacking debuff. Season 2 removed the increased-damage-taken effect, so it is less lethal than before, but high stacks still hurt — rotate soakers.
 Consume Charge — Cast when energy fills — party-wide burst, and every missed beam extends the fight. Energy management is the strategy.
- Induction — A pool under the boss plus a constant AoE tick — check the party's pathing when relocating the boss.
- Sources disagree here — on low keys the tank can absorb leftover beams, but on high keys the prevailing view is to limit tank soaking to moments when a defensive is up, because the stacks overlap with tankbusters.
- Move the boss out of Induction pools with short steps that do not break the soaking formation.
- Budget healing cooldowns for the soakers' accumulating Galvanized damage.
- The moment Consume Charge goes out (energy 100) is the peak healing load — if one slips through, use an AoE cooldown immediately.
- Assign spire soak positions before the pull — three people moving to assignments beats five people improvising.
- As a pure damage check, this boss is a frequent Bloodlust candidate.
Boss 4
Avatar of Sethraliss
A special fight won not by killing a boss but by healing the Avatar to full health. Famous for the heavy Avatar-healing burden on healers, it was fully redesigned in Season 2 so the whole party participates in handling the waves. It was also the site of BfA's notorious healing reset bug, a main target of the redesign.
Key Mechanics
 Essence Defiler — Defiling Taint — A channel that blocks all external healing on the Avatar. While this mob lives, healing the Avatar does nothing — kill it first the moment it appears.
 Corrupted Guardian — Tainted Strike — Tankbuster. On death it drops a Corrupted Lifeforce orb that must be soaked by stepping on it. The soaker takes a corruption debuff, so as a rule a DPS soaks it — a healer soaking it kills their healing throughput.
- Twisted Hexxer — Interrupt Flame Shock. Bait the Latent Hex pools to the edges.
- Faithless Tormentor — Fixates on the healer and stacks a healing reduction with every hit. The party must cut it down with AoE or CC before it reaches the healer — the longer it is ignored, the longer the fight.
- Pin the Corrupted Guardian in a corner and use defensives for the tankbuster.
- When a Tormentor wave spawns, taunt or CC the mobs running at the healer first.
- The star of this fight. Pump healing into the Avatar during the windows when the Essence Defiler is dead — do not waste Avatar healing while the heal block is up.
- If healing reduction stacks up from Tormentor hits, survive with movement and defensives while waiting for the party to clear it. Staying alive is the strategy.
- Priority order: Essence Defiler, then Tormentor (protect the healer), then Guardian, then Hexxer.
- Soaking the orbs the Guardian drops is a DPS job.
- Keep the Flame Shock kick rotation going.
- With no boss to damage, AoE and priority-damage specs shine here.
General Tips
- Route: the shortest path does not fill the enemy forces count in this dungeon — plan pulls to hit the required count before the eye event. Stealthed mobs (Shrouded Fangs) make unplanned packs easy to pick up, so be careful moving through corridors.
- Bloodlust: Galvazzt is the most common candidate as a pure damage and energy check. Depending on composition, using it on the final boss waves (the section where the Defiler and Tormentor spawn together) is also valid — agree in advance as a party.
- Common mistake: wasting damage on the blessed (effectively immune) target on boss 1 — solved by setting a swap call.
- Common mistake: no assigned beam soakers on Galvazzt, leading to energy 100 and back-to-back Consume Charges that collapse the healing.
- Common mistake: wasting Avatar healing on the final boss while the Essence Defiler is alive, or ignoring the Tormentor and letting the healer melt.
- Common mistake: entering without a poison-dispel spec — three poison debuffs across the dungeon, so check at group composition.
- Common mistake: dumping Merektha's pools in the center and erasing the movement space for the burrow phase.
- Season 2 retuning: Adderis and Aspix's abilities were heavily reworked — the new Storm Blessed mechanic replaces BfA's simple alternating lightning-shield pattern, and the shield was changed to a damage-reduction model.
- Season 2 retuning: Merektha's burrow phase now ends immediately when the summoned adds are killed, rather than on a timer — add damage directly shortens the phase.
- Season 2 retuning: the increased-damage-taken effect was removed from Galvazzt's beam-soak debuff (Galvanized) — easing the soaking burden.
- Season 2 retuning: the Avatar of Sethraliss was fully redesigned — victory still comes from fully healing the Avatar, but the waves now involve the whole party. The orb (eye) wave section right before the final boss was also reworked to remove the idle waiting.
- Season 2 retuning: the Shrouded Fang's Poisoned Cheap Shot became interruptible, and mob ability combinations and pack generation were reworked overall for better readability.
- Insufficient information: some Season 2 reworked abilities (such as Storm Blessed) have no confirmed official Korean translation and are labeled with commonly used translations. Bloodlust timing has no settled meta source yet and is described from common practice based on each boss's nature.